We are familiar with CV Axle, transmissions and engines. Normally, the engine can generate power. While the transmission will transmit the power to the wheels. The wheels are moving constantly. So, the transmission will require a flexible way for transferring the power to the vehicle’s wheels.
The CV Axle will let the transmission for driving the wheels of your car. This leads to unfold different motions together with bearings. Basically, the CV Axles are composed of many bearings as well as rubber boots. Over time, these may wear out. In today’s post, we will focus on how to remove cv axle from transmission. Let’s start.
Removing The CV Axle From Transmission
1. Remove The Cotter Pin Of The Axle Nut
In most of the cars, cotter pins are securing the axle nut outside from detaching the CV joint. You can use a set of two side cutters
for removing the cotter pin out of the axle snout. After removing the cotter pin, you may find a star wheel. Also, you have to remove it.
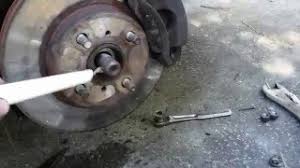
2. Removing The Axle Nut
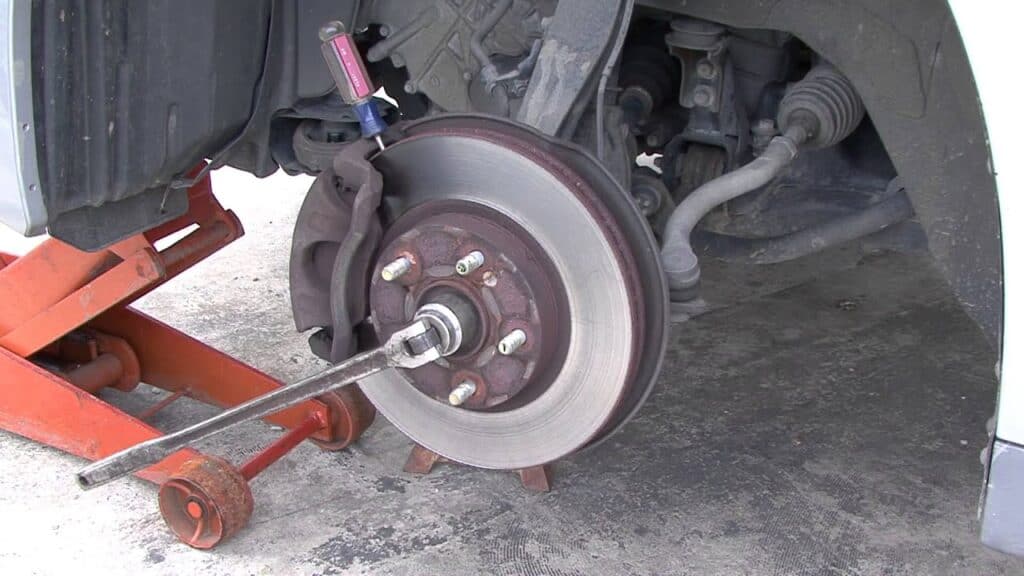
Three methods are used for loosening and removing the axle nut. Firstly, the easiest way is using an impact wrench to the purpose. The next way is holding the brakes by someone at the time of using the breaker bar for keeping the axle away from turning. It is an effective way.
Lastly, you can follow another method. The wheel has to go on while touching the floor before you lift the vehicle with the jack of the floor. After doing this, you have to lose the nut. This method requires it to be reversed for tightening the nut as the work is complete.
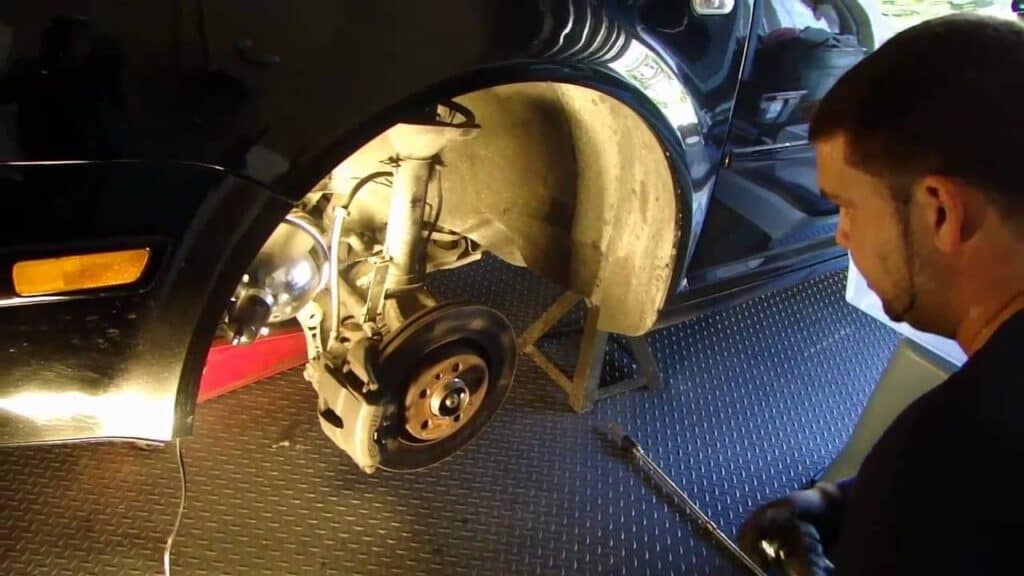
3. Disconnect The Ball Joint
The below control arm requires to be disconnected for allowing the strut to pull out. It should be done properly for getting the CV axle joint from the bearing hub. For doing it, you must reverse the ball joint to allow the removal of the axle for the room.
The nut of the ball joint will contain a cotter pin. So, it needs to be removed for disconnecting the ball joint. A joint nut will not contain a cotter pin then consider it as a self-locking one. This can hold itself accurately in the right place.
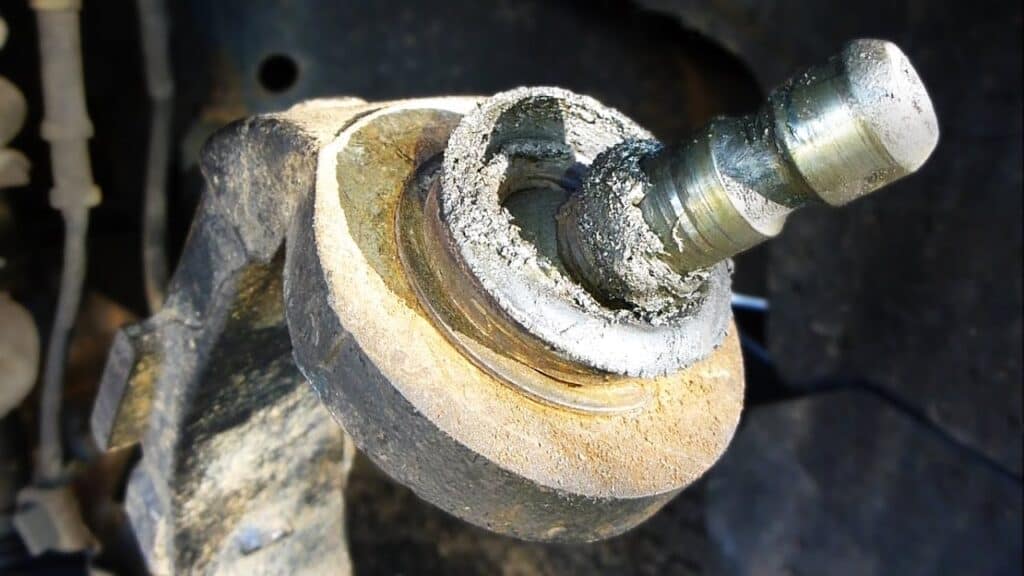
5. Removing The Outer CV Joint
Now, the below control arm will be loosened for pulling the spindle exterior of the car. Meanwhile, a hammer can be used for tapping gently to the terminal portion of the snout of the CV joint. The force will make the axle escape the spline of the wheel hub.
Moreover, this step seems to be easy with stocking the axle to use the WD40 spline. Before continuing, allow it to sit for a couple of minutes. This can remove any rust presenting in the spine zone. You should not worry about degrading the thread’s snout. As the axle can be replaced.
By following this, the spindle will be held properly while removing your CV axle. Some cars may have a medium bearing mount. You have to unbolt it for removing the axle. Use a wrench for removing these bolts. If your car does not contain this bearing, you have to attempt it alternatively.
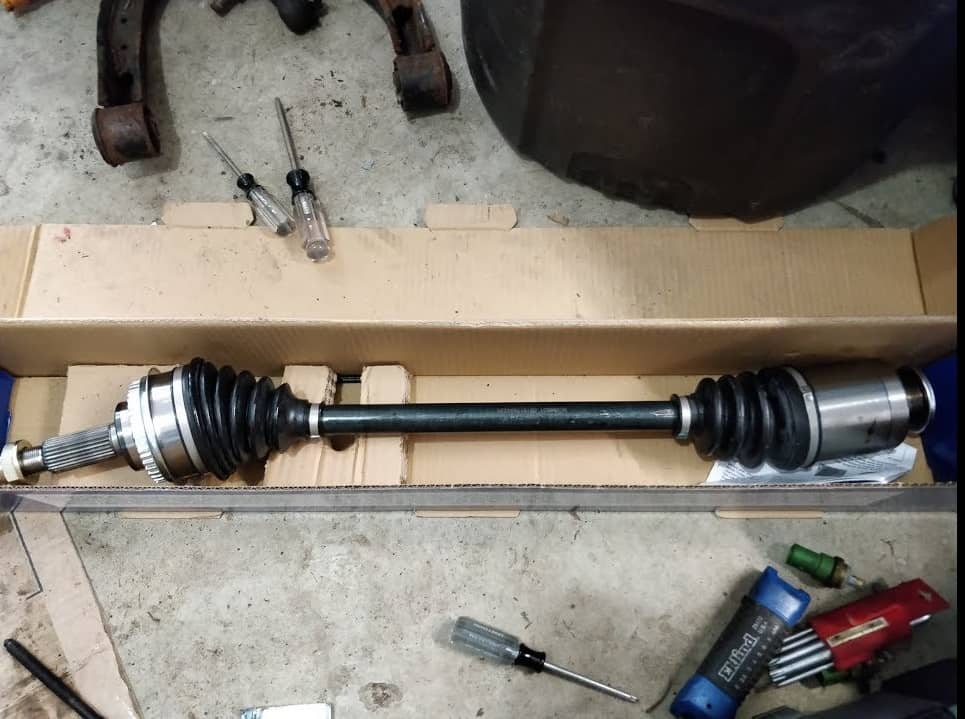
6. Match The Previous CV Axle With The New one:
In this advanced step of how to remove the cv axle from transmission, match your new replacing one with the old unit. As you remove the old one, both need to be matched identically. You may put the old one in the box for returning the core. Always be sure the old CV Axle contains an ABS stator ring.
7. New CV Axle Installation
The new axle needs to be grasped firmly for feeding it back into your transmission. Always have to be careful not to damage the seal of the transmission. The axle needs to penetrate the car’s transmission with a thrusting motion. It takes little jostling for getting it done into the transmission.
Whereas, the axle will be hanged until fully installed. If it is not properly installed, it may come out at the time of driving. So, the car will have a chance to stop suddenly. In this type of case, reinstall of the bearing bolts should be equipped. Then, tighten them according to the manufacturer’s specification.
8. Reconnect The Below Ball Joint
At the time of holding the below control arm, move the ball joint dotted with the spindle. After that, force it upward for installing the nut of the ball joint. A big wrench can be used for tightening the nut properly. But, a good wrench should be used to tighten the nut.
9. Reinstall The Nut
In this final step, you have to reinstall the nut of the CV axle by using your hands. Cross threading can be avoided. Then, tighten it by following the manufacturer’s specification. Install a cotter pin while bending one end, in case it threads to stick in the correct place. Cut off the excess portions to set perfectly.
Frequently Asked Questions:
- Can a bad CV axle damage transmission?
Answer: Certainly, a bad CV Axle causes severe damage to your transmission. Leakage can occur because of a damaged seal. When you grab it closely to the innermost joint adjacent to the transmission, you will notice up and down movement. This is an indication of worn transmission.
- What holds the CV axle into the transmission?
Answer: The driveshaft will be connected with the transmission by the CV joints. These are responsible to transfer the torque out of the transmission towards the drive wheels. This will occur at a regular speed. Thus, CV joints let the axle for bending as well as changing while accommodating with the wheels bounce.
- What Tools Do I Need to Change a CV Joint?
Answer: For removing or changing a CV joint, you will require some tools. First of all, Vehicle Jack will be needed for removing the wheel. Also, wheel hub components are changed with it. Then, Lug Wrench is another tool that will help to remove the tire and wheel for accessing the CV joint. Additionally, a drive socket, tie rod puller, hub socket wrench can be effectively used.
Final Verdict
Altogether, we have discussed how to remove cv axle from transmission. As you already understand, the CV Axle is allowing a drive shaft for transmitting power into the variable angle with a constant speed. All of this can happen without increasing the friction. We use them on the front side of the wheel drive. But, in case of facing any issues with the CV axle, you can easily remove it from the transmission by following our outlined post. We have talked about trusted ways only. Now, the application is in your hands!
If you need to remove and replace cv axle drive shaft but the cv axle drive shaft is stuck and you cannot remove it from the transmission in this video we will explain what you need to do to remove cv axle drive shaft from the transmission. In this video we demonstrated by using cv axle popper kit how easy we remove and replace our cv axles. Sometimes you do not need to remove the axle popper kit for the passenger side but it is super handy when you need it and I will definitely recommend it so you can minimize the chance to damage your transmission.