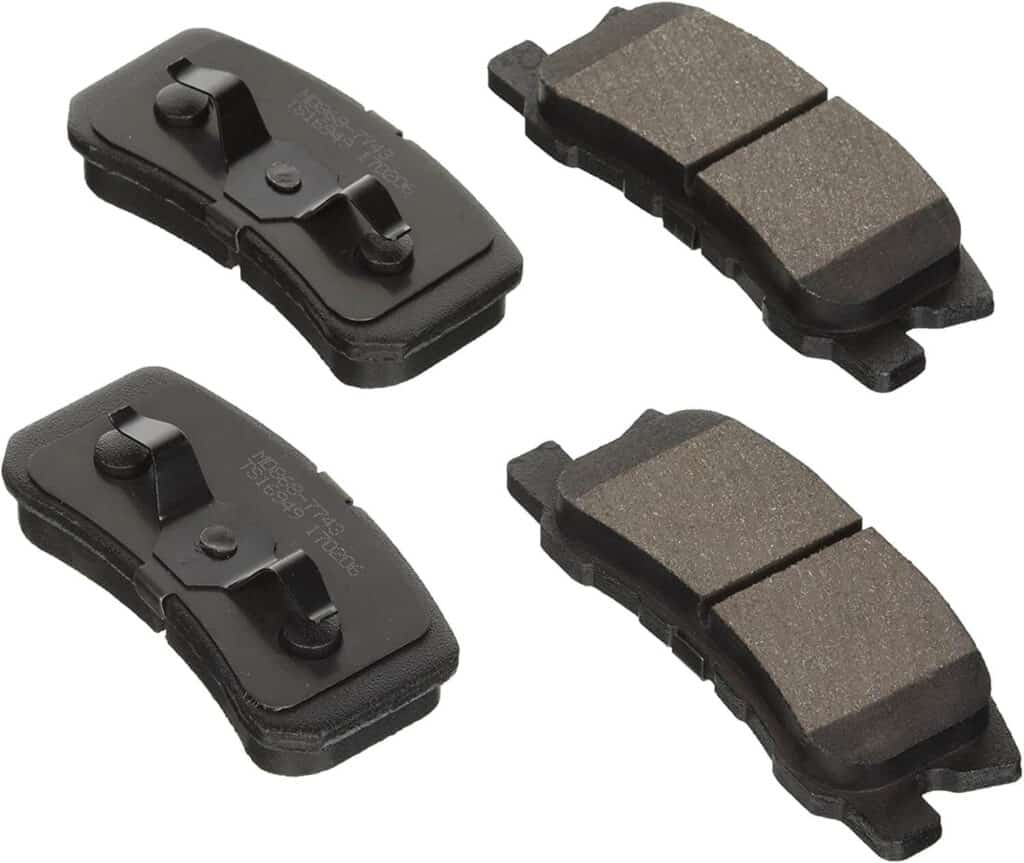
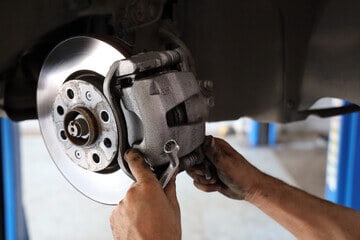
The braking system of a vehicle is made up of many parts that bring about the physical stop of the vehicle. Brake pads are an essential part of the braking system in a vehicle that shrinks and applies force and friction to brake rotors. The wheel then stops, and the vehicle stops moving because of the pressure applied to the brake rotors. Brake pads are of different types, chosen according to your vehicle type for example; the Low-metallic and semi-metallic, among others.
With time, the brake pads tear and wear due to friction. Due to that friction, it’s advisable to replace them often to ensure safety during the drive. Brake pads should be included when budgeting for automobile repair parts of vehicles.
How much are new brake pads

Different brake pads cost differently depending on the vehicle. The average cost of brake pads is $150 per axle to $300 per axle. Asbestos organic brake pads are less expensive, while the ones incorporated with metal are more expensive. The metallic brake pads are good because the metal gives them high heat resistance and minor fading.
Signs that show brake pads need to be replaced

- Squeaking of brake pads
Some squeaking noise from the brakes is a sign that the brakes are worn out. Some causes of squeaking are moisture on the brake pad and highly worn-out pads. Continued use of the vehicle without replacing the pads can cause damage to the rotors, which will make repair costs more expensive.
- Vibration when braking
You need to check on your braking system when you hear a vibration when applying brakes. This is because the rotors may be warped, creating uneven brake pad wear.
- Taking too long to stop
Sometimes the breaks may fail to work as usual and take a little longer to stop the vehicle. This shows that the pads are worn out entirely or low brake fluid.
- Grinding noise
When you hear a grinding noise while breaking, you need to replace your brake pads before the damage becomes worse. The noise is only heard on metallic brake pads. When the brake pads continue grinding, you might experience more damage leading to high costs of repair.
- Thin brake pads
It’s essential to check on your brake pads all the time visually. If they appear thinner than ¼ inch thick, it’s a sign that they are worn out and therefore need to be replaced.
- When the brake pad indicator turns on
Nowadays, most vehicles have brake warning lights such as brake system warning lights and antilock braking system lights. When the brake warning light appears on your dash and does not engage your parking brake, consider looking for an expert to check the issue.
Steps on how to change your brake pads

Step 1: Collect all the tools required
These tools may include;
- Gloves to protect your hands and keep them clean.
- Lug wrench.
- Jack stands.
- Car jacks.
- C-clamp
- Turkey baster.
- plastic tie.
- Piece of string.
Other materials required to change the brake pads include a can of brake fluid and new brake pads. Moreover, ensure the brake pads are of high quality from the original manufacturer.
You should also know your calipers. Some vehicles have a sliding caliper, while others have a fixed caliper. Changing the two types of calipers is a bit different.
You should change the brake pad one time at a time. Finish on one side from start to finish, then proceed to the other side.
Step 2: Remove the wheel
After collecting all materials required, ease the wheel lug nuts and lower the car jack until it rests on the jack stand. Using the required tool, disconnect the lug nuts from the wheel and then remove the wheel.
Step 3: Disconnect the slider bolt from the caliper
After disconnecting the lug nuts, remove the slider bolts making the caliper loose. Loosen the lower bolt and take it out gently.
Step 4: Hinge the caliper up
In this step, the rubber hose will stretch, and the hydraulic lines need disconnection. At this step, you can inspect the brake pad thickness carefully and see if they need any replacement. If the friction material is less than 1/8 of an inch, it means that it is worn out and needs to be replaced.
Step 5: Remove the brake pads
Remove the old or damaged brakes from the wheel. Ensure you slide out the brake pads carefully to avoid damaging other vehicle components.
Step 6: Reinstall the retaining clips
Use graphite-based grease to prevent the retaining chips from producing unwanted sounds. Further, replace the chips sequentially and ensure they correctly match.
Step 7: Reinstall the new brake pads
After re-installing the retaining chips, proceed to re-installing new brake pads after applying grease. Ensure the new brakes fit correctly in their location.
Step 8: Push back the pistons
The pistons are essential since they bring the car into stop in case of an emergency. Retract the pistons before lowering the caliper so that they clear the new brake pads by using the recommended tool, which is a C-Clamp. Be careful when pushing the piston back to ensure you don’t damage the rubber boot. While pushing the piston back, check the brake fluid level to avoid overflowing.
Step 9: Relocate the caliper
Place the caliper back to its position with some force and ensure it perfectly fits the new brake pads installed.
Step 10: Place back the slider bolt
Return the slider bolt and re-mount the wheel and tighten it to prevent it from falling off. Finally, tighten the lug nuts.
Step 11: Test-drive
Drive the car carefully to check whether everything it’s working correctly.
You might be interested to read also our another article of: Handbrake Clicks and Parking Brake Clicks
Conclusion
It is essential to replace the car brake pads once they reach their service limit. The brake pad life span changes depending on the mode of driving. The more you drive in a hilly area and high traffic, the more they will wear out.
It’s also good to research the cost of the brake pad replacements earlier enough to be used when the need arises. One can avoid expensive brake repairs by knowing the signs of worn-out brake pads. Driving with damaged breaks can cause accidents.
