Transfer cases are the key components of the 2005 Jeep Grand Cherokee vehicle. The transfer cases function by giving the drivers permission to shift operation modes. In all vehicles, the transfer case is found at the rear and the transfer case consists of four operation modes. For instance, the neutral, four-low, four-high and two-neutral modes.
Sometimes, the transfer case may fail to function as usual such as unwanted and unusual humming and clicking noises. The article describes the common causes of transfer case noise and the recommended steps of troubleshooting the problems. Ensure you understand and follow the recommended steps of troubleshooting the transfer case noise generation.
Causes of transfer case noise
Transfer case noise is the main sign which indicates failing or a damaged transfer case. Once transfer case noise is generated, it must be fixed immediately to avoid damaging the transfer case further. Several reasons can result in generation of transfer case noise and they include;
1. Less transfer case fluid

Decreasing lubricant or fluid is the common cause of transfer case noise generation. Low fluid in most situations can result in production of unwanted transfer case noise indicating failing transfer case. Decreased fluid level in the transfer case hinders normal lubrication of transfer case components.
Once the transfer case metals are prevented from lubricating freely, they start producing unwanted sound. The more the situation is ignored, the larger the damage and increased repair costs. Therefore, it is recommended for the driver to troubleshoot the problem instantly before other parts are damaged.
The first step of troubleshooting the problem is by refilling the transfer case with the recommended fluid. Ensure the fluid does not overflow or leak. Further, test the transfer case by starting the engine to identify any noise produced. Finally, consider contacting a skilled mechanic if the problem persists.
2. Damaged or improperly installed vehicle gears
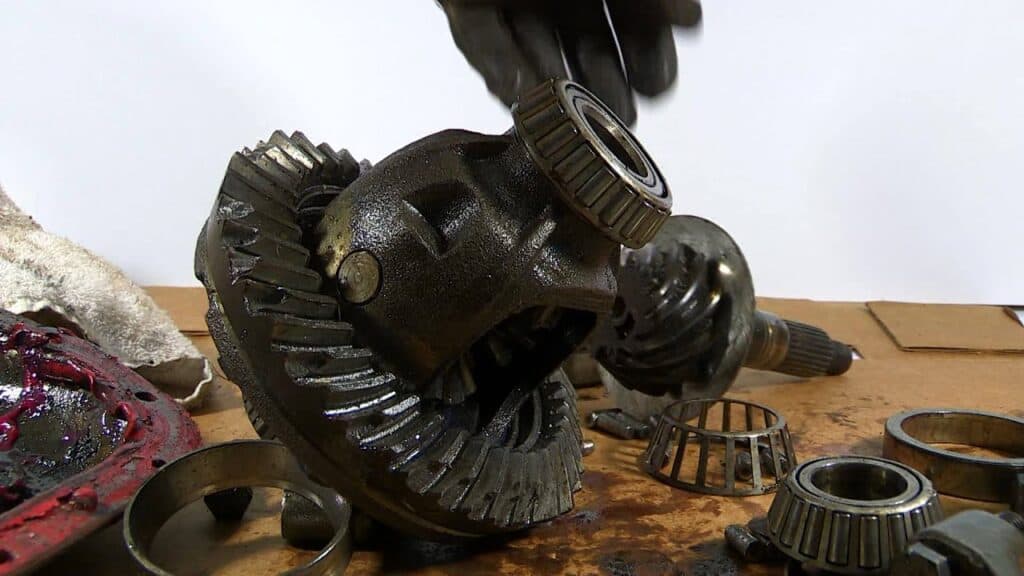
Improper installation of the Jeep gears such as the side gears usually results in generation of the transfer case noise. If the vehicle gears are incorrectly installed, some vehicle components are restricted from moving freely. Therefore, it is important to inspect the vehicle gears to see if they are incorrectly installed.
Moreover, consider replacing the damaged vehicle gears with new gears. Ensure you buy gears of high quality from licensed sellers to avoid continuous production of transfer case noise. Finally, ensure the replacement gears match and correctly fit the 2005 Jeep Grand Cherokee vehicle and the gears are recommended by the manufacturer in the manufacturer’s manual book.
3. Loosely attached transfer case chains
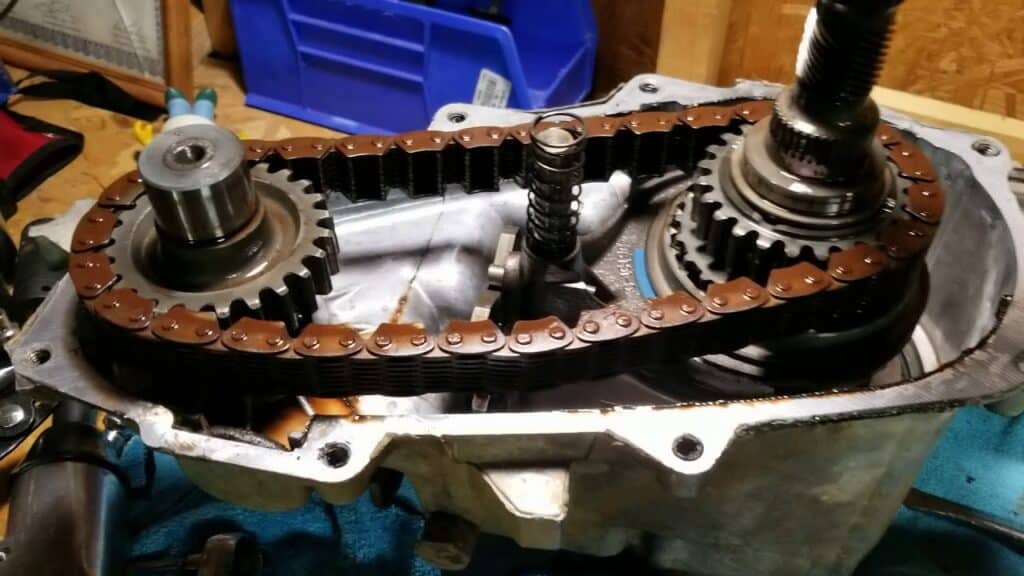
Sometimes, chains installed in or near the transfer case may become loose. Loose chains produce a lot of noise when in operation. To troubleshoot the problem, first, collect all materials required such as screwdriver, new chain, wrench, lubricant, etc. lubricant is usually applied on the chains to allow them function well without any difficulties.
Screwdriver and a wrench enable you to tighten the chains to prevent generation of noise and a wrench is usually used together with the screwdriver. Using a screwdriver or any other equipment recommended by the manufacturer, tighten the chains correctly and apply the recommended lubricant or oil to allow chains move without producing any clicking sound.
Avoid using too much lubricant and tightening the chains firmly as the chains will break or crack. Also, tightening the chains firmly restricts their movement thus preventing correct functioning of the transfer case.
Some lubricants and fluids react negatively with the metal parts present in the transfer case. Incorrect fluid and lubricant fails to lubricate the chains resulting in generation of the noise in the transfer case. Replacing the fluid or lubricant requires you to consult the manufacturer before purchasing any fluid for replacement.
4. Dirty fluid
Accumulation of dirt and sludge on the fluid or lubricant results in clogging of the pipes that allow straight movement of the fluid from the source to the destination. Once the pipes have been clogged, the fluid fails to move and function normally resulting in production of transfer case noise.
Therefore, it is important to inspect the lubricant and fluid used for any dirt and sludge accumulation. Also, consider changing the fluid regularly and change the fluid filter more often. Finally, consider using the correct fluid and lubricant during replacement to avoid corrosion of the metal components present in the transfer case.
Steps on how to fix the transfer case noise problem
The following steps describe how to troubleshoot the transfer case problem before contacting a skilled mechanic.
Step 1: Collect all materials required
Materials required include; funnel, gear oil or fluid, wrench, draining bucket, funnel, oil filter, pry bar, ratchet, tape, rubber mallet, etc. Ensure you collect all equipment to avoid any distractions during the troubleshooting process.
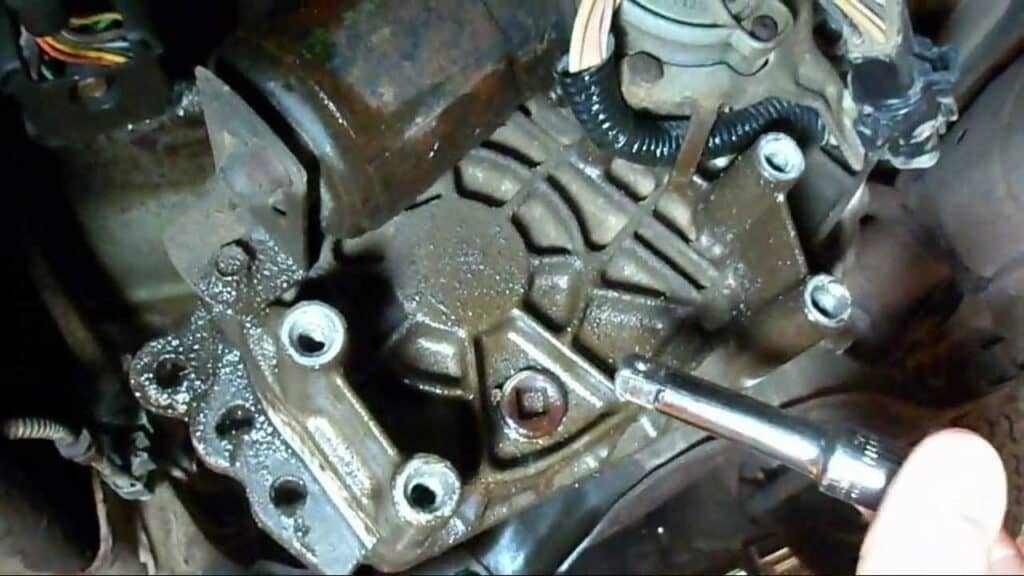
Step 2: Disconnect the rear driveshaft from its position
First, using a penetrating spray oil, spray the end of the rear driveshaft. The penetrating spray oil makes it easier when screwing back the rear driveshaft without any problems. Using a screwdriver, unbolt all bolts holding the rear driveshaft in position. If the bolts have accumulated a lot of rust, consider using other tools such as a mini-hacksaw, bolt cutter, etc.
Ensure you use the tools carefully to avoid damaging other vehicle components. Once all the screws have been removed, place a draining bucket underneath and force the latter to drain into the draining bucket using a pry bar. Pay more attention to avoid losing the bearings after all the latter has been drained.
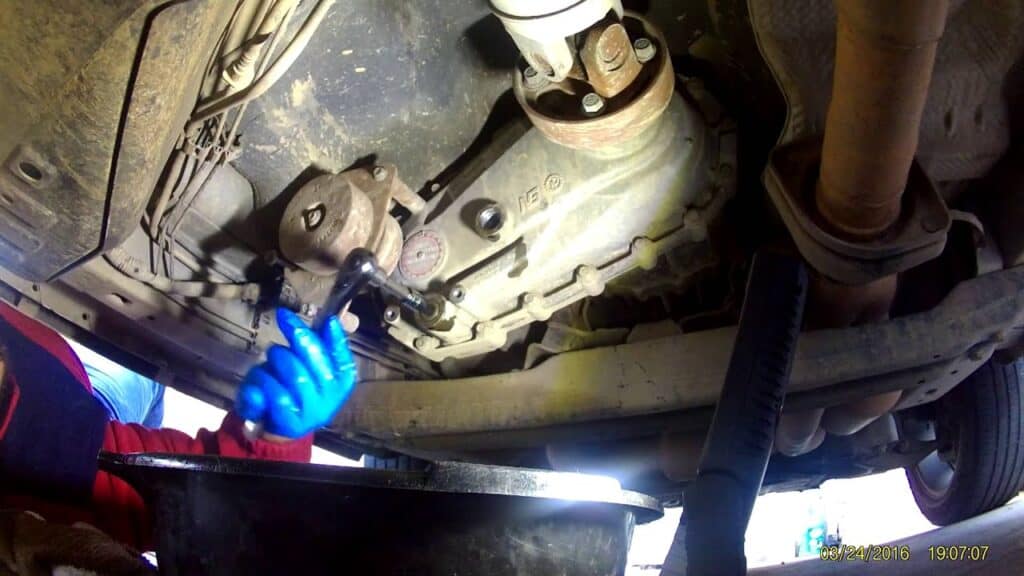
Step 3: Disconnect the rear driveshaft
Pull out the rear driveshaft from the transfer case. Ensure you handle the rear driveshaft carefully.
Step 4: Disengage the tail shaft housing
Using a screwdriver and a wrench, unscrew all screws holding the tail shaft housing. Place the bucket under the tile shaft housing and drain all fluid. Pull out the tail shaft housing using a rubber mallet and inspect the condition of the tile shaft housing.
Step 5: Reinstall new snap ring
If the snap ring is damaged beyond repair, consider replacing it with a new one to get accurate results. Ensure you install the snap ring to its correct position.
Step 6: Screw the locking ring
Using a screwdriver, hold the locking ring in position to prevent it from falling off.
Step 7: Remove all dirt around the output shaft
Get rid of all dirt around the output shaft using a new razor blade. Clean all areas around the tail shaft and lubricate with a gasket maker.
Step 8: Replace the rear driveshaft
Reinstall the rear driveshaft and secure it using screwdriver and screws.
Step 8: Fill the transfer case with recommended fluid
After installing all other components, replace the fluid and screw the snap ring back to its position. Test if the noise has been eliminated. If not, consider repeating the process above or contacting a professional mechanic.
You might be interested to read also our another article of: What Causes a 2005 Jeep Grand Cherokee Front Differential to Make Noise? and 2005 Jeep Grand Cherokee Clicking Makes Noise in Dash
Conclusion
Prolonging the lifespan of the transfer case requires constant checkups and servicing. Therefore, it is advisable to inspect your vehicle frequently to solve any problems early to avoid long term damages such as engine damage.
If you experience any noise in the transfer case, use the steps above to troubleshoot the problem. Finally, remember to follow the manufacturer’s instructions in the manual book.